Appointment Slots allow you to list available dates and times on a public calendar, so that current and prospective clients can request a scheduled session, if the provider has the feature enabled. For a good overview of this feature, please see the video recording of a webinar we hosted on this type of virtual clinic.
If you are an Account Administrator, you can request that this feature be added to your account by contacting [email protected]. Please include the name of the Account Service(s) that users can request an appointment for. If you have not yet created one, please include the information we will need to create one for you: name, description, payment required (if applicable), and scheduling duration.)
Account Administrators can also designate certain groups of schedulers to only be able to schedule on behalf of specific providers. Account Administrators can manage group members, but will need to contact [email protected] to set up the initial relationship between groups. Please let us know which groups of schedulers should schedule for which groups of hosts, or list the user names so that we can create the groups for you.
This support article will go over the process for adding or removing users from an Account Group.
You may also be interested in:
Add Members to a Group
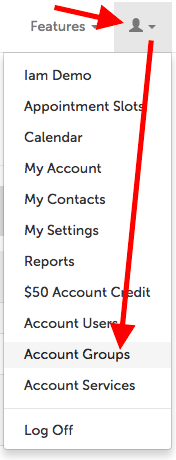
1.While logged into your admin account, click on the profile icon in the upper right-hand corner and select "Account Groups" from the drop-down menu.
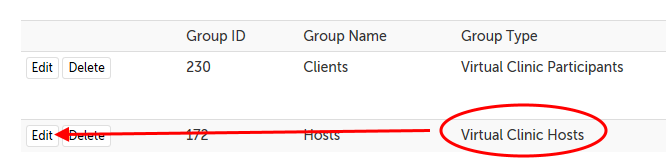
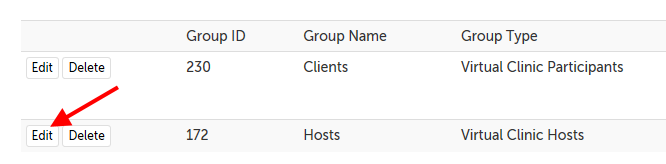
2. Click the "Edit" button for the Group you would like to add the provider to.
- The group type should be "Virtual Clinic Hosts".
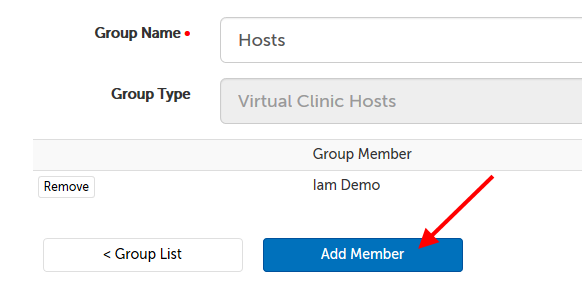
3. Click on the "Add Member" button.
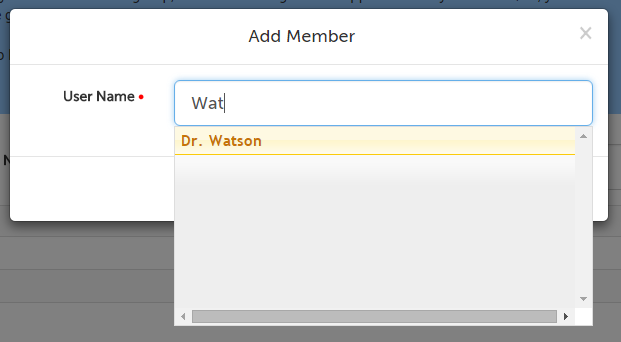
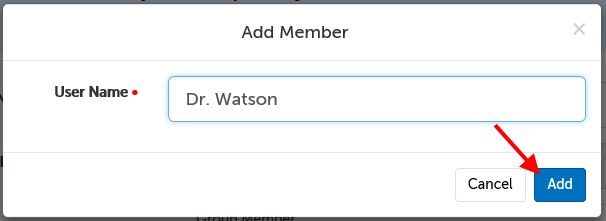
4. Start typing the name of the user you would like to add to the group. Select their name from the autofill, and then click "Add".
5. Their name should name appear in the list of Group Members, and will now be able to edit their availability and have that availability be seen through your booking page.
Remove Members from a Group
1.While logged into your admin account, click on the profile icon in the upper right-hand corner and select "Account Groups" from the drop-down menu.
2. Click the "Edit" button for the Group you would like to remove a member from.
- The group type should be "Virtual Clinic Hosts".
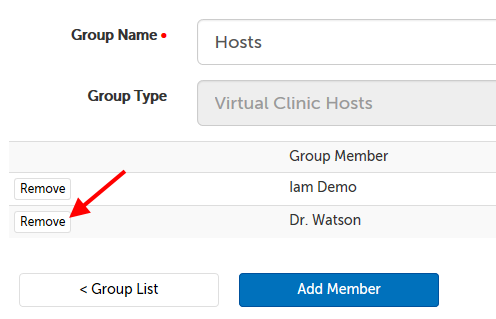
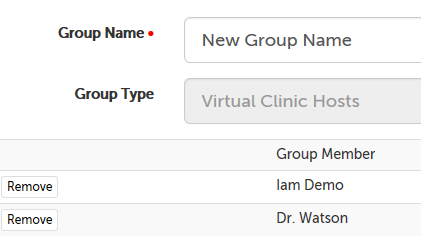
3. Click the "Remove" button next to the Member you would like to remove from the Group.
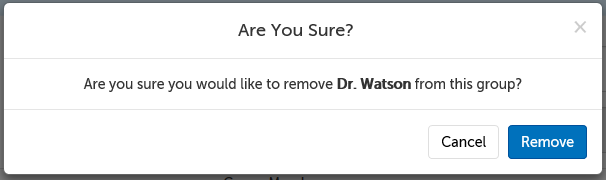
4. Click "Remove" on the message that appears to confirm you would like to remove this user from the Group.
5. Their name should no longer appear in the list of Group Members.
Edit a Group name
1.While logged into your admin account, click on the profile icon in the upper right-hand corner and select "Account Groups" from the drop-down menu.
2. Click the "Edit" button for the Group you would like to edit the name of.
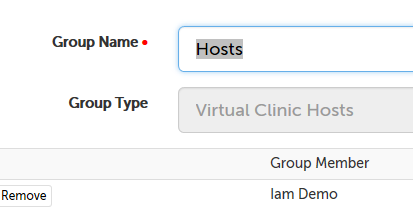
3. Edit the "Group Name" field and click elsewhere on the page. Your changes will be automatically saved.
Set/view public URLs for a group
1.While logged into your admin account, click on the profile icon in the upper right-hand corner and select "Account Groups" from the drop-down menu.
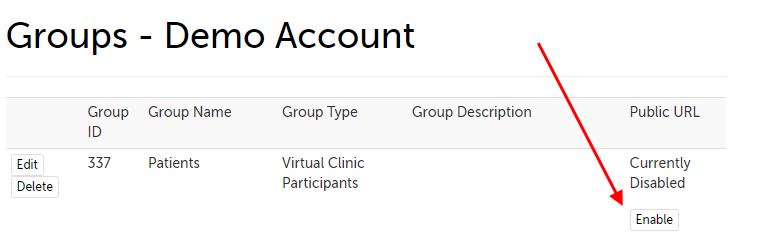
2. Click the "Enable" button for the group you want to enable a public URL for.
3. If you are using branding and have at least one public URL enabled on the account, you will see an easy-to-read URL on this page that you can copy and share.

If you are not using branding, you can click the "View" button for that group to expand the different public URLs:

This will expand to show 3 different URLs:
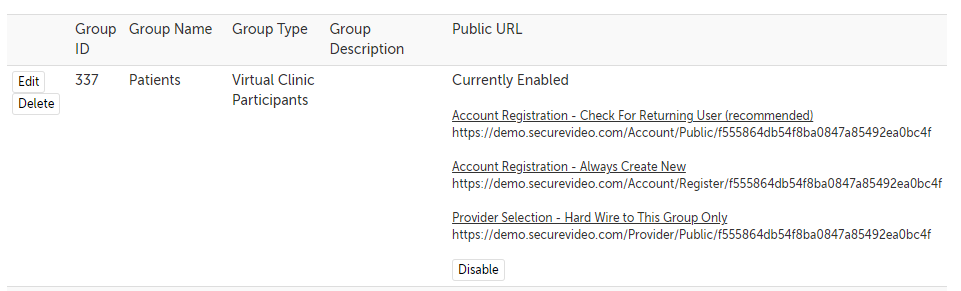
- Account Registration - Check for Returning User (recommended): this URL page will check if the visitor has a browser cookie from any previous visits, and if no cookie is detected, will direct the user to register for an account so that they can view your availability and request a session.
- Account Registration - Always Create New: this URL will go directly to a registration page. If a visitor already has an account, this may prompt them to create another account.
- Provider Selection - Hard Wire to This Group Only: this URL will show only the services associated with this Virtual Clinic Participant Group.
Remove public URLs for a group
1.While logged into your admin account, click on the profile icon in the upper right-hand corner and select "Account Groups" from the drop-down menu.
2. Click the "Disable" button next to the group whose public URL you would like to disable.

This article was last reviewed by our Support Team on September 13, 2024.